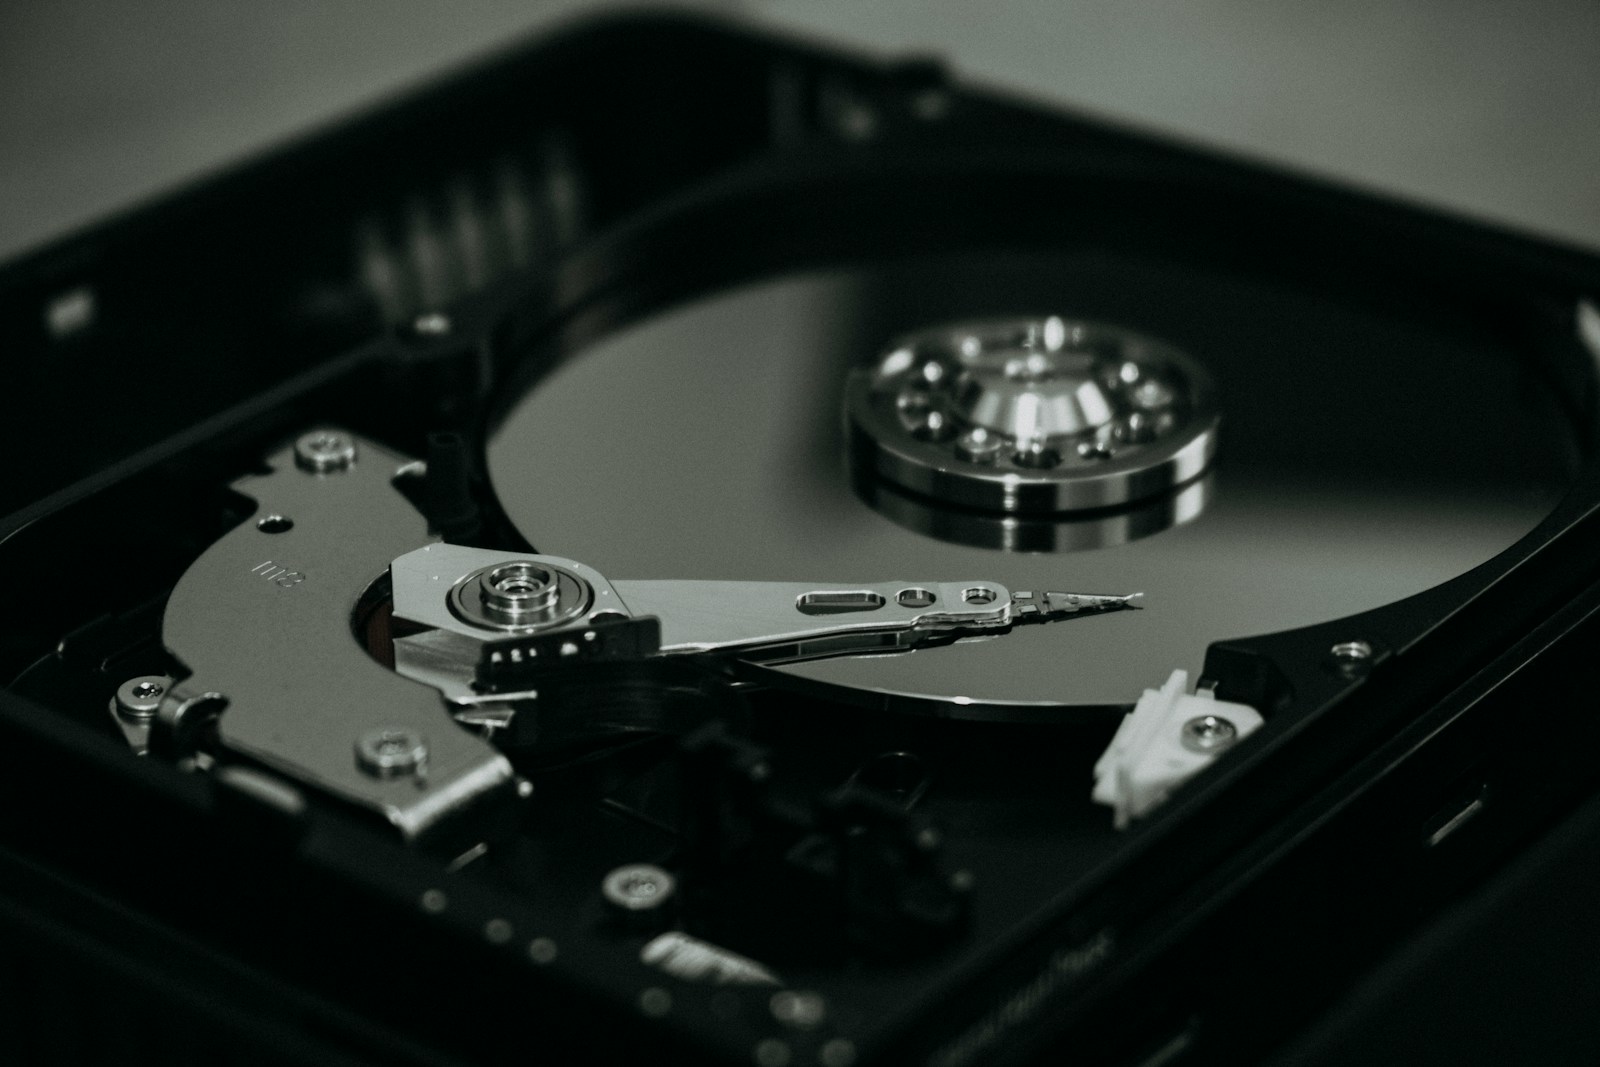
Encountering the “Drive D: Not Found” error can be frustrating, especially when you rely on the drive for accessing critical data. This issue often occurs due to hardware malfunctions, incorrect system settings, or missing drive partitions. In this guide, we will walk you through the most effective troubleshooting steps to resolve the issue.
1. Verify Physical Connections
The first step is to ensure that all hardware connections are secure:
- If Drive D: refers to an external hard drive or USB drive, check that the cables are properly connected and functional.
- Test the drive on another computer to confirm if it is recognized there. If not, the issue might be with the drive itself.
- For internal drives, ensure the SATA/IDE cables are securely attached inside the computer.
2. Check Disk Management
Windows Disk Management can help identify if the drive is detected but not assigned a letter:
- Press
Win + R, typediskmgmt.msc, and press Enter. - Look for your Drive D: in the list of disks.
- If the drive is unallocated, right-click and select “New Simple Volume” to assign a letter.
- If the drive does not have a letter, right-click and select “Change Drive Letter and Paths…” to assign D:.
3. Update or Reinstall Drivers
Outdated or corrupted drivers can prevent the system from recognizing the drive:
- Press
Win + Xand select “Device Manager.” - Expand the “Disk Drives” or “Universal Serial Bus controllers” section.
- Right-click on the problematic drive and select “Update Driver.”
- If updating doesn’t work, uninstall the driver and restart your computer to let Windows reinstall it automatically.
4. Run Hardware and Devices Troubleshooter
Windows includes a built-in troubleshooter that can diagnose and fix hardware issues:
- Open the Settings app and navigate to
System > Troubleshoot > Other Troubleshooters. - Locate and run the “Hardware and Devices” troubleshooter.
- Follow the on-screen instructions to resolve any detected problems.
5. Check BIOS/UEFI Settings
Sometimes, the drive may be disabled in BIOS/UEFI:
- Restart your computer and press the appropriate key (e.g., F2, F10, DEL) to access BIOS/UEFI settings.
- Navigate to the storage or boot options and ensure the drive is listed and enabled.
- Save the changes and exit.
6. Run CHKDSK for Drive Errors
If the drive is detected but inaccessible, running CHKDSK might help:
- Open Command Prompt as Administrator.
- Type
chkdsk D: /f /rand press Enter. - Allow the process to complete and then try accessing the drive again.
Resolving the “Drive D: Not Found” issue requires a methodical approach. Start with the simple fixes, such as checking connections and updating drivers, before moving on to more advanced solutions like restoring partitions or running diagnostic tools. With patience and the right tools, you can usually recover access to your drive.
